Graphic text dynamically increases and decreases in size according to the size of its text box. The idea of graphic text is that it is an "easy formatting" option for resizing the text on your slide visually.
You can either add a new graphic text box onto your canvas from the Toolbox or update an existing text box to be a graphic text box using the Graphic Text option on the Text ribbon. In either case, you can then resize the text by just resizing the box on the canvas.
Note: This functionality is all about simplifying your tasks when making appearance changes. When a text box containing graphic text is resized, the text contained within it just resizes accordingly; you do not need to choose the exact font size or use the increment options.
Adding Graphic Text
Toolbox option
To add graphic text from the Toolbox:
- Right-click the Text icon and select Graphic Text from the submenu.
- Click the canvas at the point where you would like to add your graphic text.
- Type your text into the text box.

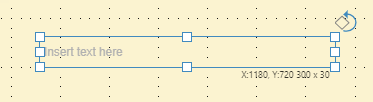
A text box is added to the page at the selected point.
Your text is added to the graphic text box. The text box (and the text it contains) are now ready for resizing.
Text ribbon
Change some existing standard text into graphic text, so that the text is resized along with its text box. Note: This option applies both to Text and to variable Text Fields; so, for example, you can convert an Insights text field into graphic text.
To convert a regular text box to graphic text:
- Select the text box on the canvas.
- From the Text ribbon, click Graphic Text.
Note: You can tell this is a normal text box because, when the box is selected, its border is blue (indicating a standard text box) and not green (indicating a graphic text box).
The regular text box is converted into a graphic text box, and its border changes to green. The text box (and the text it contains) are now ready for resizing.
Changing text size
You can resize your graphic text box and the text it contains either by dragging its handles or by selecting a scale option on the Graphic Text dropdown menu:
- Select the text box and drag the handle or handles to resize it.
- Select the text box and, from the Text ribbon, select Graphic Text and then select one of the scale options from the dropdown list.
The text box, and the text that it contains, are both resized. Where an option was selected from the Text ribbon, the resize is relative to the original container size.
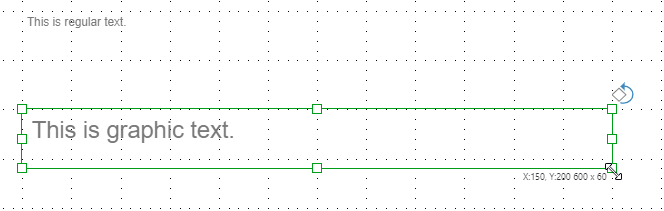
In the preceding example, there are two text boxes of the same size. The size of the text in the graphic text box has increased automatically to reflect the size of its text box, while the size of the text in the regular text box has remained unchanged despite the box changing size.
Tip: You can change your graphic text box back into a regular text box by clicking Graphic Text again; the text does not revert back to its original size.